If you join a company as a Cloud Engineer, one of the first questions you should ask is:
“How is Azure structured?”
In this lab, you will create that structure yourself by building Azure Management Groups step by step, exactly the way real cloud environments are organized.
By the end of this lab, you will see a clean Management Group hierarchy under your Azure tenant.
Prerequisites
- An Azure account
- Owner or Management Group Contributor permissions on the tenant root
- Access to Azure Portal
If you do not have permissions at the tenant root level, you will NOT be able to create Management Groups.
Step 1: Open Management Groups in Azure Portal
- Go to https://portal.azure.com
- In the top search bar, type Management Groups
- Click Management Groups
You should now see a page showing your Tenant Root Group.
A visual hierarchy with your Tenant Root Group at the top.
Step 2: Understand the Target Hierarchy
Before creating anything, understand what you are about to build.
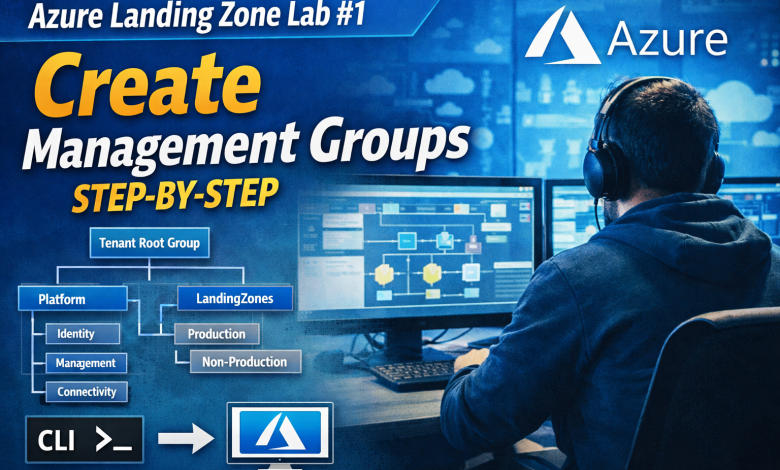
Tenant Root Group
│
├── Platform
│   ├── Identity
│   ├── Management
│   └── Connectivity
│
└── LandingZones
    ├── Production
    └── Non-Production
This structure separates:
- Platform services from workloads
- Production from non-production environments
Step 3: Create the Platform Management Group
- In the Management Groups page, select Tenant Root Group
- Click + Add management group
- Name:
Platform - Management Group ID:
platform - Click Submit
A new Management Group named Platform appears under Tenant Root Group.
Step 4: Create Platform Sub-Groups
Now create the core platform groups under Platform.
🚀 Cloud & DevOps is better when discussed, not Googled.
Join our Discord community to talk about real problems, tools, and lessons learned.
👉 Join the Discord Community4.1 Create Identity
- Select Platform
- Click + Add management group
- Name:
Identity - ID:
identity
4.2 Create Management
- Select Platform
- Name:
Management - ID:
management
4.3 Create Connectivity
- Select Platform
- Name:
Connectivity - ID:
connectivity
Three Management Groups under Platform: Identity, Management, Connectivity.
Step 5: Create Landing Zones Management Group
- Select Tenant Root Group
- Click + Add management group
- Name:
LandingZones - ID:
landingzones
LandingZones appears next to Platform under Tenant Root Group.
Step 6: Create Production and Non-Production Groups
6.1 Production
- Select LandingZones
- Name:
Production - ID:
prod
6.2 Non-Production
- Select LandingZones
- Name:
Non-Production - ID:
nonprod
LandingZones now contains Production and Non-Production groups.
Step 7: Verify the Final Hierarchy
Your final structure should look like this:
Tenant Root Group
│
├── Platform
│   ├── Identity
│   ├── Management
│   └── Connectivity
│
└── LandingZones
    ├── Production
    └── Non-Production
If your hierarchy matches this structure, Lab #1 is complete.
Optional: Create Management Groups Using Azure CLI
If you prefer CLI:
az account management-group create --name Platform
az account management-group create --name Identity --parent Platform
az account management-group create --name Management --parent Platform
az account management-group create --name Connectivity --parent Platform
az account management-group create --name LandingZones
az account management-group create --name Production --parent LandingZones
az account management-group create --name NonProduction --parent LandingZones
Why This Lab Matters for Cloud Engineers
Management Groups are not optional in real Azure environments.
- Policies are applied here
- RBAC is inherited from here
- Subscriptions scale from here
If this layer is wrong, everything above it becomes hard to manage.
What’s Next?
In the next lab, you will:
- Create Azure subscriptions
- Attach them to Management Groups
- Understand real subscription isolation
Next Lab:
Azure Landing Zone Lab #2: Create and Organize Subscriptions (Hands-On)
🚀 Cloud & DevOps is better when discussed, not Googled.
Join our Discord community to talk about real problems, tools, and lessons learned.
👉 Join the Discord Community